Lexus ES: Components
COMPONENTS
ILLUSTRATION
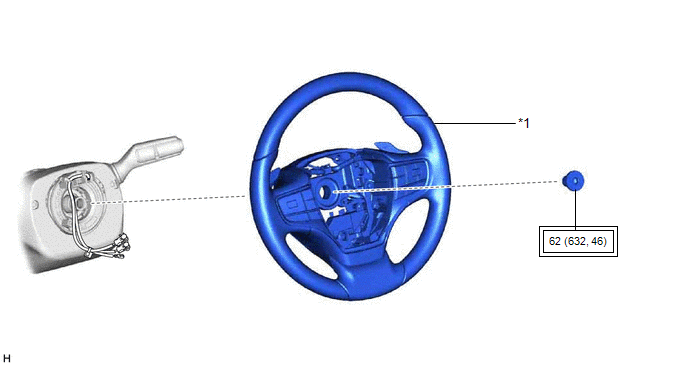
| *1 | STEERING WHEEL ASSEMBLY | - | - |
 | Tightening torque for "Major areas involving basic vehicle performance such as moving/turning/stopping": N*m (kgf*cm, ft.*lbf) | - | - |
ILLUSTRATION
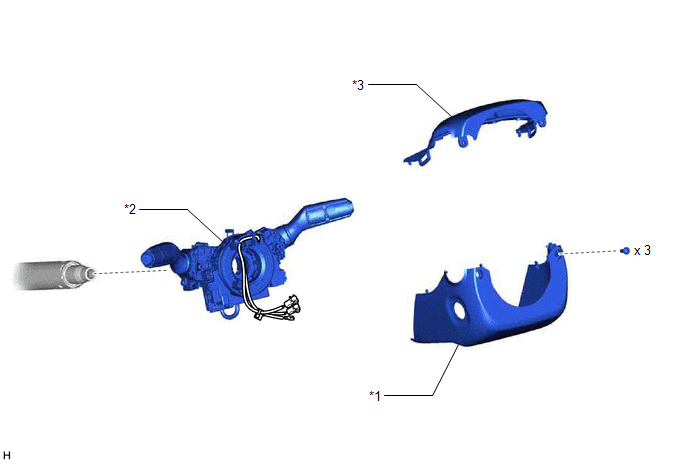
| *1 | LOWER STEERING COLUMN COVER SUB-ASSEMBLY | *2 | TURN SIGNAL SWITCH ASSEMBLY WITH SPIRAL CABLE SUB-ASSEMBLY |
| *3 | UPPER STEERING COLUMN COVER | - | - |
ILLUSTRATION
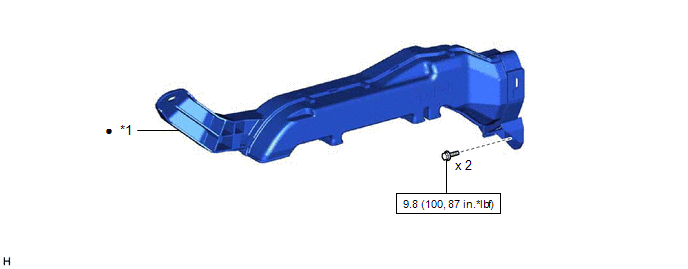
| *1 | NO. 1 AIR DUCT SUB-ASSEMBLY | - | - |
 | N*m (kgf*cm, ft.*lbf): Specified torque | ● | Non-reusable part |
ILLUSTRATION
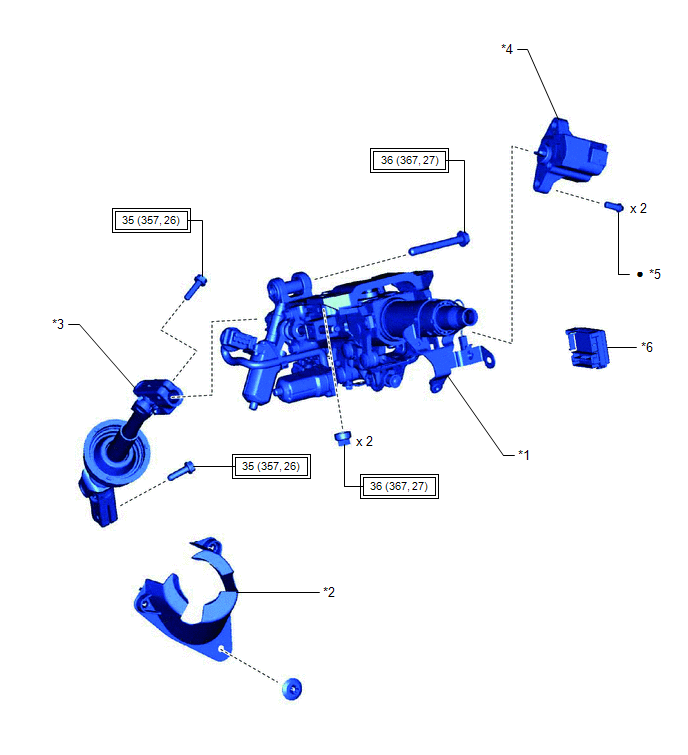
| *1 | STEERING COLUMN ASSEMBLY | *2 | STEERING COLUMN HOLE COVER |
| *3 | STEERING INTERMEDIATE SHAFT ASSEMBLY | *4 | STEERING LOCK ACTUATOR ASSEMBLY |
| *5 | STEERING LOCK SET BOLT | *6 | MULTIPLEX TILT AND TELESCOPIC ECU |
| | Tightening torque for "Major areas involving basic vehicle performance such as moving/turning/stopping": N*m (kgf*cm, ft.*lbf) | ● | Non-reusable part |
READ NEXT:
 Removal
REMOVAL CAUTION / NOTICE / HINT The necessary procedures (adjustment, calibration, initialization or registration) that must be performed after parts are removed and installed, or replaced during stee
Disassembly
DISASSEMBLY CAUTION / NOTICE / HINT NOTICE: Before replacing the steering lock actuator assembly, refer to Registration. for Gasoline Model: Click here for HV Model: Click here PROCEDURE 1. REM
Inspection
INSPECTION PROCEDURE 1. INSPECT STEERING COLUMN ASSEMBLY (a) Check that the 2 bushings are securely installed to the steering column assembly. HINT: If the bushings are deformed, missing or damaged
SEE MORE:
CAN Communication Failure (Message Registry) (U1000)
DESCRIPTION The headlight ECU sub-assembly LH or headlight ECU sub-assembly RH stores this DTC if it detects an internal malfunction related to the CAN communication system. for LED Type Turn Signal Light DTC No. Detection Item DTC Detection Condition Trouble Area DTC Output from U100
Parts Location
PARTS LOCATION ILLUSTRATION *1 HYBRID VEHICLE CONTROL ECU *2 INSTRUMENT PANEL JUNCTION BLOCK ASSEMBLY - ECU-B NO. 1 FUSE *3 NO. 4 RELAY BLOCK - IGCT NO. 2 FUSE - PM-IGCT FUSE - BATT FAN FUSE *4 DLC3 *5 NO. 3 RELAY BLOCK - IGCT RELAY - - ILLUSTRATION *1 HV BATTE
