Lexus ES: Remote Touch
Remote Touch
The Remote Touch can be used to operate the Center Display.
For details on the Remote touch, refer to the "NAVIGATION AND MULTIMEDIA SYSTEM OWNER'S MANUAL".
Remote Touch operation
■ Switches
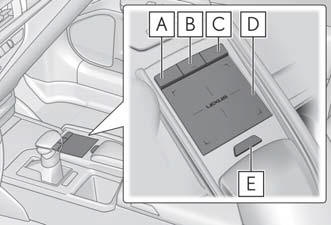
8-inch display model
- "HOME" button
Press this button to display the home screen.
12.3-inch display model
- "MAP" button
Press this button to display the current location. - "MENU" button
Press this button to display the menu screen. - Back button
Press this button to display the previous screen. - Touchpad
Slide your finger on the touchpad and move the pointer to select a function, letter and screen button.Press the touchpad to enter the selected function, letter or screen button. Certain finger movements on the touchpad can perform functions, such as changing map scalings and scrolling list screens.
- Sub function button
When is displayed on the screen,
a
function screen assigned to the screen can
be displayed.
■ Using the touchpad
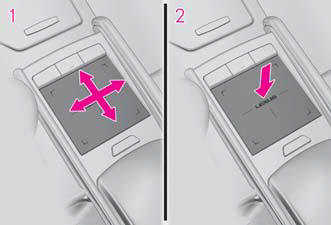
- Select: Touch the touchpad to select the desired button on the screen.
- Enter: The buttons on the screen
can be selected by either depressing
or double tapping on the touchpad.
Once a button has been selected, the screen will change.
■ Touch operation Operations are performed by touching the touchpad with your finger.
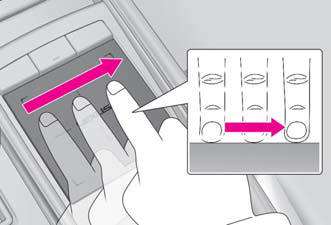
- Trace
Trace the pad surface while maintainingcontact with the touchpad. Moving thecursor and the pointer.
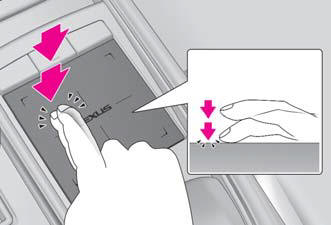
- Double tap
Tap the touchpad twice, quickly. Select the button on the screen.
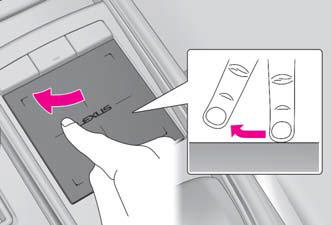
- Flick
Quick and long movement along the touchpad with your finger. Move the list screen.
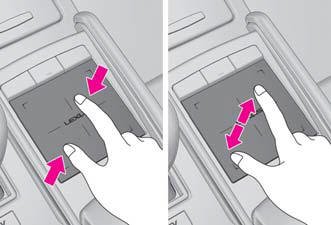
- Pinch in/Pinch out
Slide fingers toward each other or apart on the touchpad. Change the scale of the map.
NOTICE
■To prevent damage to the Remote Touch Observe the following precautions. Failure to do so may cause damage to the Remote Touch.
- Do not allow the Remote Touch to come into contact with food, liquid, stickers or lit cigarettes.
- Do not subject the Remote Touch to excessive pressure or strong impact.
- Do not push the touchpad with a strong force or use a sharp pointed object to operate the pad.
Center Display overview
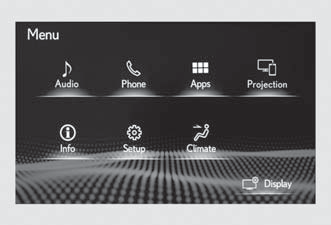
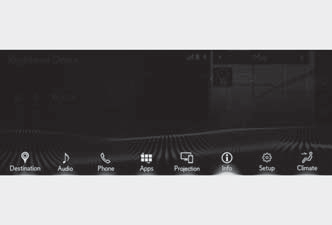
■ Menu screen Press the "MENU" button on the Remote Touch to display the menu screen.
The displays shown in the illustrations are used for example only and may differ from the actual vehicle.
8-inch display model
12.3-inch display model
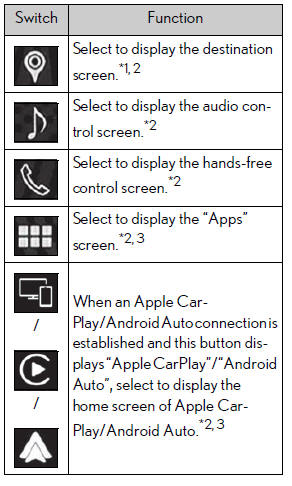
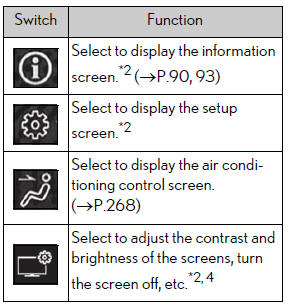
*1: If equipped
*2: Refer to the "NAVIGATION AND
MULTIMEDIA SYSTEM OWNER'S
MANUAL".
*3: This function is not made available in
some countries or areas.
*4: This function is not made available on some models.
■ Split-screen display (12.3-inch display model) Different information can be displayed on the left and right of the screen. For example, air conditioning system screen can be displayed and operated while the fuel consumption information screen is being displayed. The large screen on the left of the display is called the main display, and the small screen to the right is called the side display.
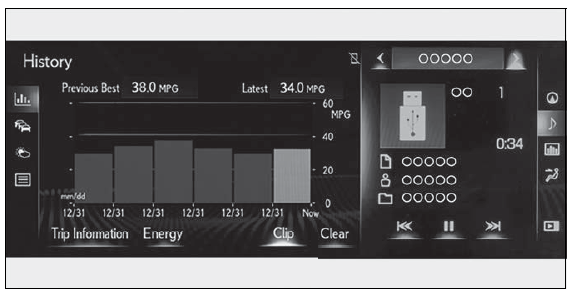
■ Main display For details about the functions and operation of the main display, refer to the respective section and "NAVIGATION AND MULTIMEDIA SYSTEM OWNER'S MANUAL".
■ Side display (12.3-inch display model) The following functions can be displayed and operated on the side display.
Select  or
or
 to display the desired
screen.
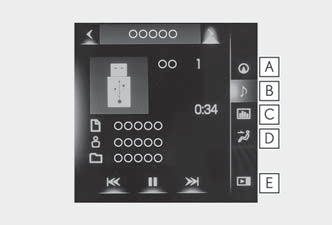
- Navigation system*
- Audio*
- Vehicle information
- Air conditioning system
- Show/hide the side display
*: Refer to the "NAVIGATION AND MULTIMEDIA SYSTEM OWNER'S MANUAL".
■Screen display during low temperatures When the ambient temperature is extremely low, screen response may be delayed even if the Remote Touch is operated.

