
Lexus ES: Sliding Roof Switch Assembly
Components
COMPONENTS
ILLUSTRATION
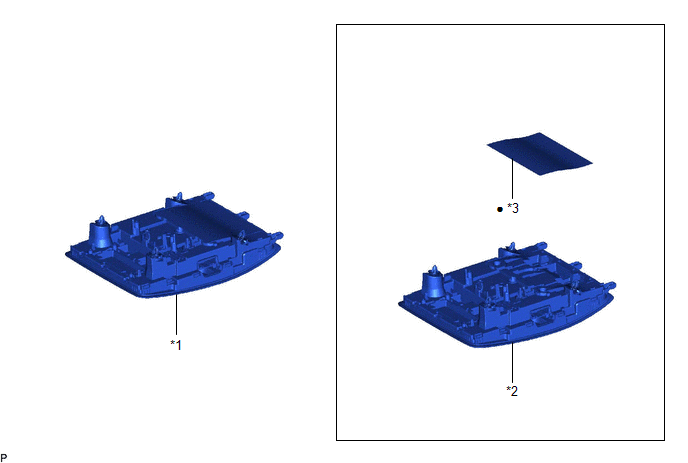
| *1 | MAP LIGHT ASSEMBLY | *2 | MAP LIGHT SUB-ASSEMBLY |
| *3 | ROOF CONSOLE BOX INNER COVER | - | - |
| ● | Non-reusable part | - | - |
Inspection
INSPECTION
PROCEDURE
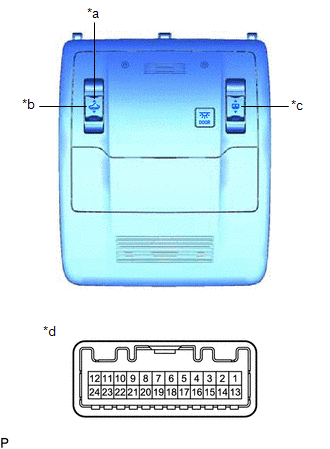
1. INSPECT MAP LIGHT SUB-ASSEMBLY (PANORAMIC MOON ROOF SWITCH) (for Panoramic Moon Roof)
| (a) Measure the resistance according to the value(s) in the table below. Standard Resistance:
If the result is not as specified, replace the panoramic moon roof switch (map light sub-assembly). |
|
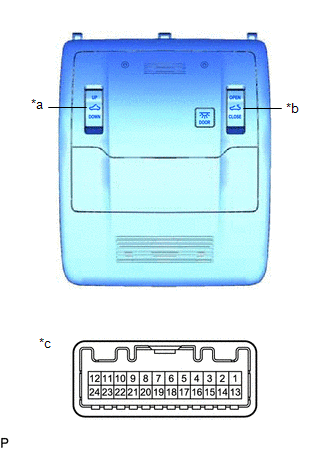
2. INSPECT MAP LIGHT SUB-ASSEMBLY (SLIDING ROOF SWITCH) (for Moon Roof)
| (a) Measure the resistance according to the value(s) in the table below. Standard Resistance:
If the result is not as specified, replace the sliding roof switch (map light sub-assembly). |
|
READ NEXT:
 Precaution
PRECAUTION PRECAUTION FOR DISCONNECTING CABLE FROM NEGATIVE BATTERY TERMINAL NOTICE: When disconnecting the cable from the negative (-) battery terminal, initialize the following systems after the cab
Parts Location
PARTS LOCATION ILLUSTRATION *1 FRONT DOOR COURTESY LIGHT SWITCH ASSEMBLY (for LH) *2 FRONT DOOR COURTESY LIGHT SWITCH ASSEMBLY (for RH) *3 SLIDING ROOF SWITCH (MAP LIGHT SUB-ASSEMBLY)
SEE MORE:
Removal
REMOVAL CAUTION / NOTICE / HINT The necessary procedures (adjustment, calibration, initialization, or registration) that must be performed after parts are removed and installed, or replaced during central gateway ECU (network gateway ECU) removal/installation are shown below. Necessary Procedure Aft
Problem Symptoms Table
PROBLEM SYMPTOMS TABLE HINT:
Use the table below to help determine the cause of problem symptoms. If multiple suspected areas are listed, the potential causes of the symptoms are listed in order of probability in the "Suspected Area" column of the table. Check each symptom by checking the suspect
