Lexus ES: Disassembly
Lexus ES (XZ10) Service Manual / Vehicle Exterior / Exterior Panels / Trim / Grille Shutter / Disassembly
DISASSEMBLY
PROCEDURE
1. REMOVE MOTOR COVER
| (a) Disconnect the connector. |
|
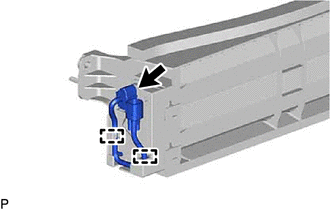
(b) Disengage the 2 clamps.
(c) Disengage the 4 claws to remove the motor cover as shown in the illustration.
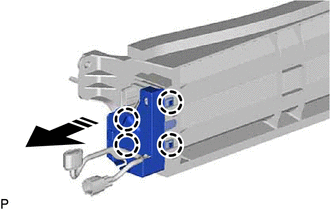
.png) | Remove in this Direction |
2. REMOVE SWING GRILLE ACTUATOR ASSEMBLY
(a) Remove the swing grille actuator assembly as shown in the illustration.
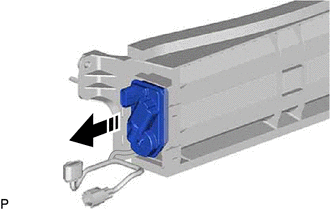
| | Remove in this Direction |
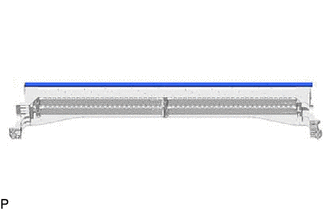
3. REMOVE NO. 3 RADIATOR GRILLE SEAL
| (a) Remove the No. 3 radiator grille seal. HINT: Use the same procedure for the RH side and LH side. |
|
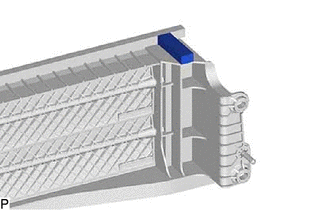
4. REMOVE NO. 1 RADIATOR GRILLE SEAL
| (a) Remove the No. 1 radiator grille seal. |
|
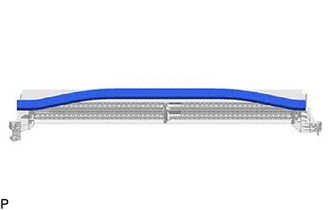
5. REMOVE NO. 2 RADIATOR GRILLE SEAL
| (a) Remove the No. 2 radiator grille seal. |
|
READ NEXT:
 Reassembly
REASSEMBLY PROCEDURE 1. INSTALL NO. 2 RADIATOR GRILLE SEAL HINT: When installing the No. 2 radiator grille seal, heat the radiator shutter using a heat light. Heating Temperature Item Temperature
Installation
INSTALLATION PROCEDURE 1. INSTALL RADIATOR SHUTTER SUB-ASSEMBLY (a) Engage the 2 guides as shown in the illustration. Install in this Direction (b) Install the radiator shutter sub-assembly
SEE MORE:
HD Radio Tuner Malfunction (B1551,B15A0,B15B3,B15B4,B15B7,B15BA,B15F9)
DESCRIPTION These DTCs are stored when a malfunction occurs in the radio receiver assembly. DTC No. Detection Item DTC Detection Condition Trouble Area B1551 HD Radio Tuner Malfunction When any of the following conditions is met:
"HD Radio" tuner decoder malfunction
"HD Radio"
Diagnostic Trouble Code Chart
DIAGNOSTIC TROUBLE CODE CHART Sliding Roof System DTC No. Detection Item Link B2341 Sensor (Motor) Failure B2342 Switch Failure B2343 Position Initialization Incomplete B2344 Position Failure
© 2016-2026 Copyright www.lexguide.net
