
Lexus ES: Oil And Oil Filter
Lexus ES (XZ10) Service Manual / Engine & Hybrid System / A25a-fxs (lubrication) / Oil And Oil Filter
Components
COMPONENTS
ILLUSTRATION
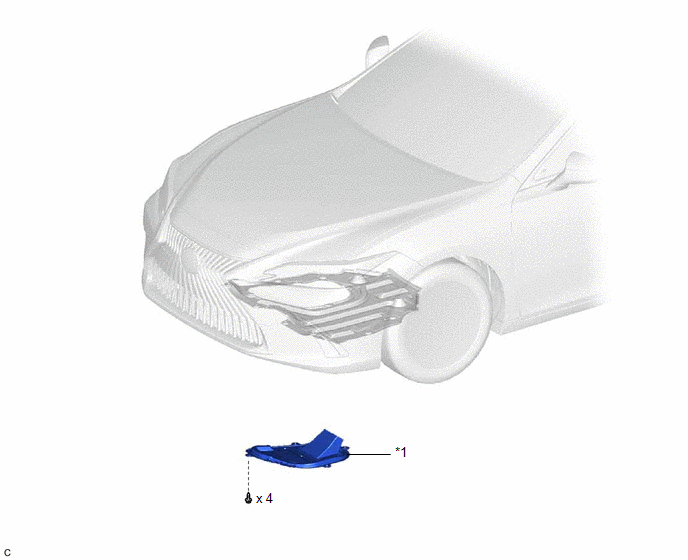
| *1 | CENTER NO. 4 ENGINE UNDER COVER | - | - |
ILLUSTRATION
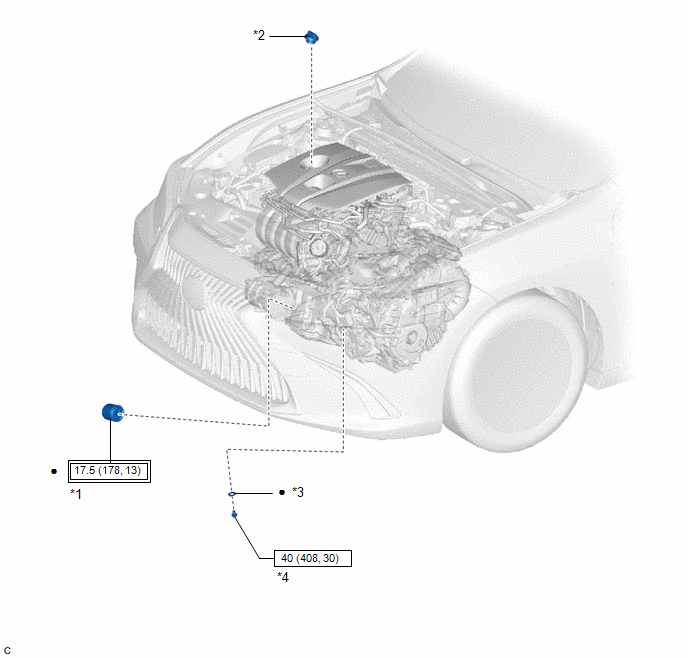
| *1 | OIL FILTER SUB-ASSEMBLY | *2 | OIL FILLER CAP SUB-ASSEMBLY |
| *3 | GASKET | *4 | OIL PAN DRAIN PLUG |
.png) | Tightening torque for "Major areas involving basic vehicle performance such as moving/turning/stopping": N*m (kgf*cm, ft.*lbf) | .png) | N*m (kgf*cm, ft.*lbf): Specified torque |
| ● | Non-reusable part | - | - |
READ NEXT:
 Components
COMPONENTS ILLUSTRATION *1 FRONT WHEEL OPENING EXTENSION PAD LH *2 FRONT WHEEL OPENING EXTENSION PAD RH *3 NO. 1 ENGINE UNDER COVER *4 NO. 2 ENGINE UNDER COVER ASSEMBLY N*m
Removal
REMOVAL CAUTION / NOTICE / HINT NOTICE: This procedure includes the removal of small-head bolts. Refer to Small-Head Bolts of Basic Repair Hint to identify the small-head bolts. Click here PROCEDURE
SEE MORE:
On-vehicle Inspection
ON-VEHICLE INSPECTION PROCEDURE 1. CHECK FUEL PUMP OPERATION AND INSPECT FOR FUEL LEAK (a) Check fuel pump operation. (1) Connect the Techstream to the DLC3. (2) Turn the engine switch on (IG). NOTICE: Do not start the engine. (3) Turn the Techstream on. (4) Enter the following menus: Powertrain / E
Adjustment
ADJUSTMENT CAUTION / NOTICE / HINT *a Centering Bolt *b Standard Bolt HINT:
Use the same procedure for the RH side and LH side.
The following procedure is for the LH side.
Centering bolts are used to install the door hinges to the vehicle body and door. The door cannot be adjus
© 2016-2026 Copyright www.lexguide.net
