
Lexus ES: Components
COMPONENTS
ILLUSTRATION
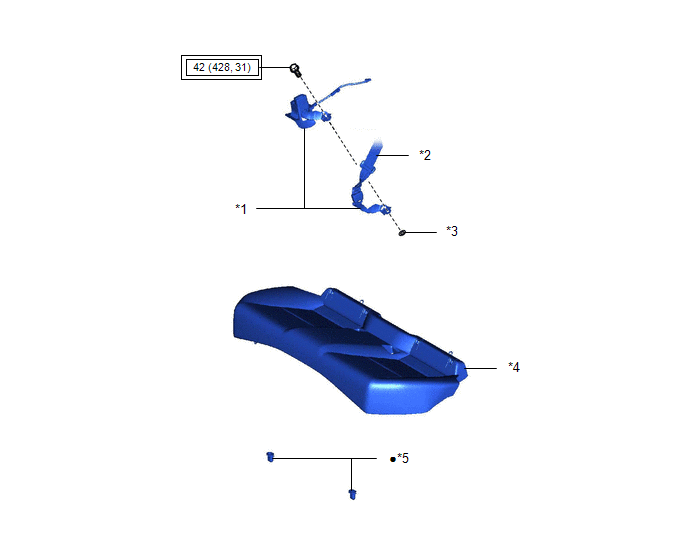
| *1 | REAR SEAT INNER BELT ASSEMBLY LH | *2 | REAR CENTER SEAT LAP TYPE BELT ASSEMBLY |
| *3 | WASHER | *4 | REAR SEAT CUSHION ASSEMBLY |
| *5 | REAR SEAT CUSHION LOCK HOOK | - | - |
.png) | Tightening torque for "Major areas involving basic vehicle performance such as moving/turning/stopping": N*m (kgf*cm, ft.*lbf) | ● | Non-reusable part |
ILLUSTRATION
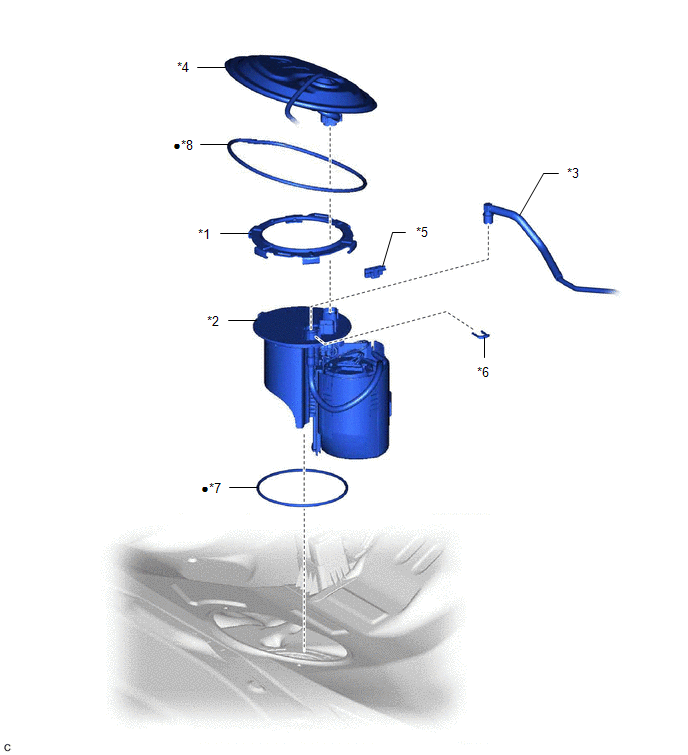
| *1 | FUEL PUMP GAUGE RETAINER | *2 | FUEL SUCTION TUBE WITH PUMP AND GAUGE ASSEMBLY |
| *3 | FUEL TANK MAIN TUBE SUB-ASSEMBLY | *4 | REAR FLOOR SERVICE HOLE COVER |
| *5 | NO. 1 FUEL TUBE CLAMP | *6 | TUBE JOINT CLIP |
| *7 | FUEL SUCTION TUBE SET GASKET | *8 | BUTYL TAPE |
| ● | Non-reusable part | - | - |
ILLUSTRATION
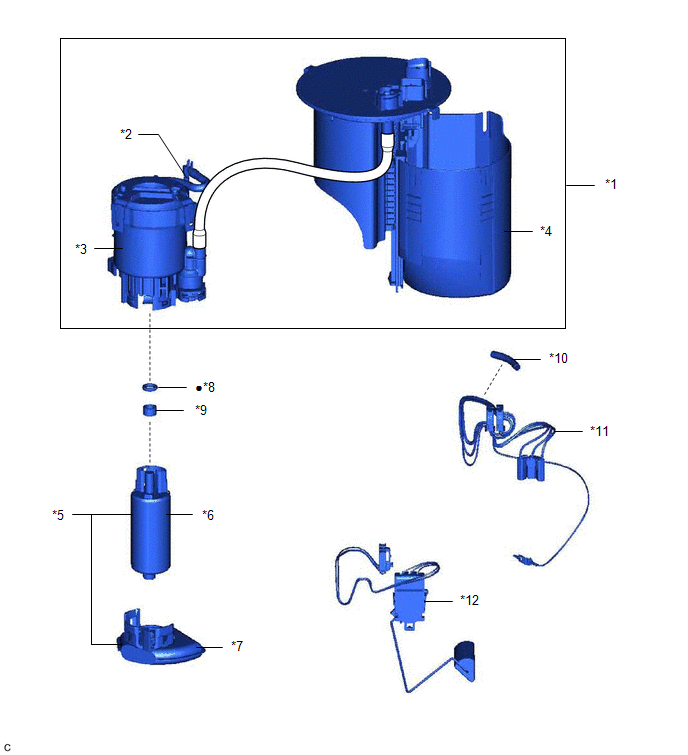
| *1 | FUEL SUCTION PLATE SUB-ASSEMBLY | *2 | FUEL PUMP FILTER HOSE |
| *3 | FUEL FILTER | *4 | FUEL SUB-TANK |
| *5 | FUEL PUMP WITH FILTER ASSEMBLY | *6 | FUEL PUMP |
| *7 | SUCTION FILTER | *8 | O-RING |
| *9 | FUEL PUMP SPACER | *10 | HARNESS PROTECTOR |
| *11 | FUEL PUMP HARNESS | *12 | FUEL SENDER GAUGE ASSEMBLY |
| ● | Non-reusable part | - | - |
READ NEXT:
 Removal
REMOVAL CAUTION / NOTICE / HINT The necessary procedures (adjustment, calibration, initialization or registration) that must be performed after parts are removed and installed, or replaced during fuel
Disassembly
DISASSEMBLY CAUTION / NOTICE / HINT NOTICE: Do not disconnect the tube shown in the illustration when disassembling the fuel suction tube with pump and gauge assembly. Doing so will cause reassembly o
Inspection
INSPECTION PROCEDURE 1. INSPECT FUEL PUMP WITH FILTER ASSEMBLY (a) Measure the resistance according to the value(s) in the table below. Standard Resistance: Tester Connection Specified Condit
SEE MORE:
AVC-LAN Circuit
DESCRIPTION Each unit of the audio and visual system connected to the AVC-LAN (communication bus) transmits signals via AVC-LAN communication. If a short to +B or short to ground occurs in an AVC-LAN communication line, the audio and visual system will not function normally because communication is
Hybrid/EV Battery Positive Contactor Circuit Short to Auxiliary Battery or Open (P0AD915)
DESCRIPTION Refer to the description for DTC P0AE411. Click here DTC No. Detection Item DTC Detection Condition Trouble Area MIL Warning Indicate P0AD915 Hybrid/EV Battery Positive Contactor Circuit Short to Auxiliary Battery or Open Open or short to +B in the SMRB circuit: Pr
